Bike Upgrade

I recently wanted to upgrade my Framed MN 2.0 bike to get a better climbing gear. It originally came with a 2X9, Front 28/38t Rear 11-34. My poor old knees just needed some help on the climbs.

Anyway here is a quick way to upgrade a fat bike which has a square taper bottom bracket.

  1. Go find a square taper crankset to use. I got the GANOPPER Square Taper Crankset with 32T Narrow Wide Chainring

  2. Find a cassette that has a larger climbing gear. I went with microSHIFT Advent Cassette

  3. Get the tools you need Crank Puller Loctite for the screws.

  4. Optional but recommended. Replace the bottom bracket while you have everything off and check your chain if it is stretched out. I went with this one which fit my 100mm frame.VGEBY1 BB and I got a bottom bracket removal tool

You can find tons of videos on pulling cranks and installing square taper bottom brackets. So search it up and make that old bike a dream to ride.


Repairs and Fun

Wood Working

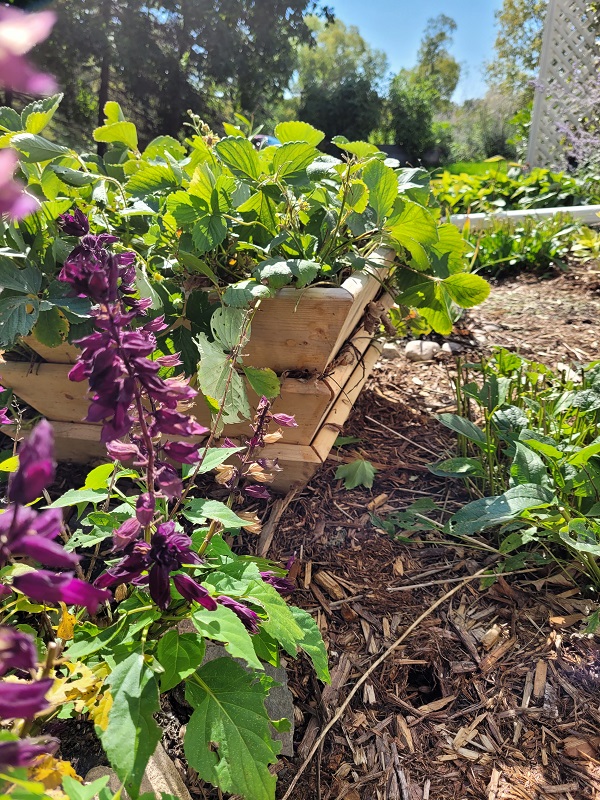
Not everything turns out perfect and my strawberry planters are a good example of that. I forgot to reinforce the miter joints, doh! So, they all split eventually during use. The idea was to build some stackable wooden planters so the strawberries could grow out and around from multiple levels. Wood prices were super high at the time and I knew I would screw this up, so I just used some really cheap pine decking.

The other small wood working project I did was a soap tray carved from a chunk maple. It was quick project, but I still use it and really enjoy it. I carved it via fostner drill bits and got the general shape with bandsaw and chisels.

Carpentry

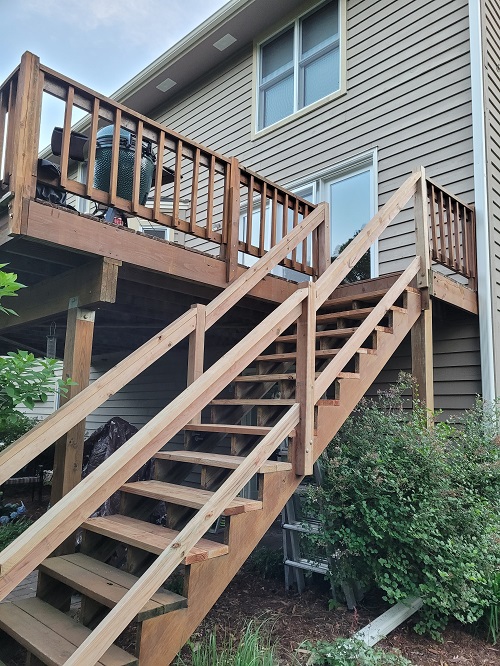
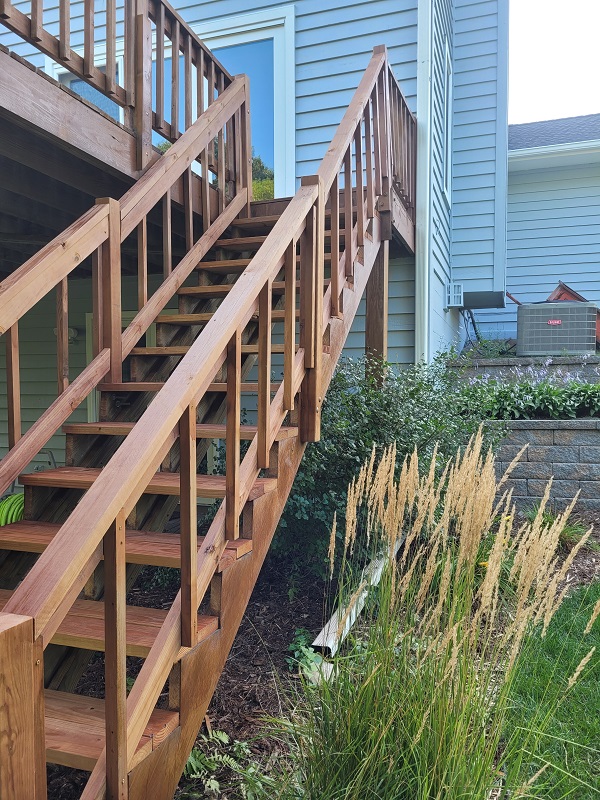
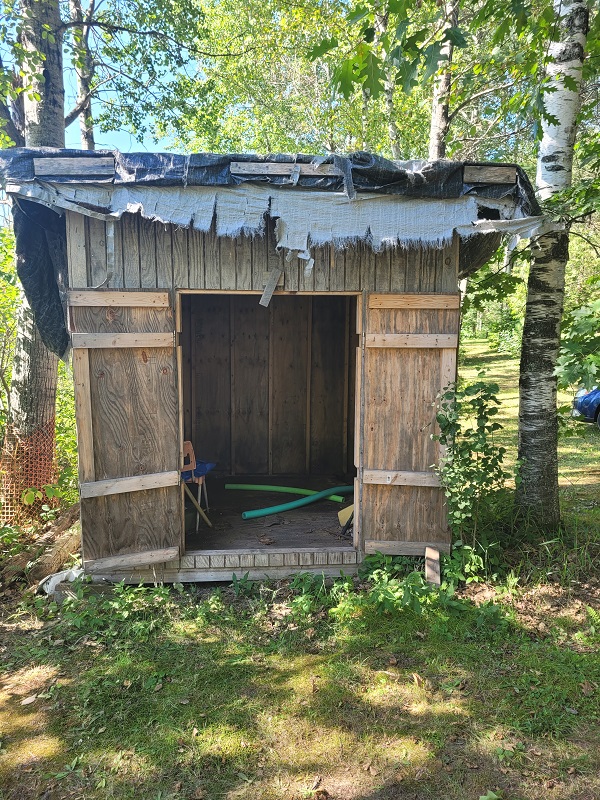
The two carpentry projects I recently worked on were a shed repair and deck stairs repair. In both cases the situation was dangerous, and we had to replace before someone got hurt. Both were very rewarding as they turned out great and were family projects.

For the stairs the big issues was the posts, railings, and stairs had rotten out. So it was just a matter of tearing it all down and putting it back together. At the time cedar wood was very expensive so went with cedar tone pine and put on a stain. Looks pretty good.

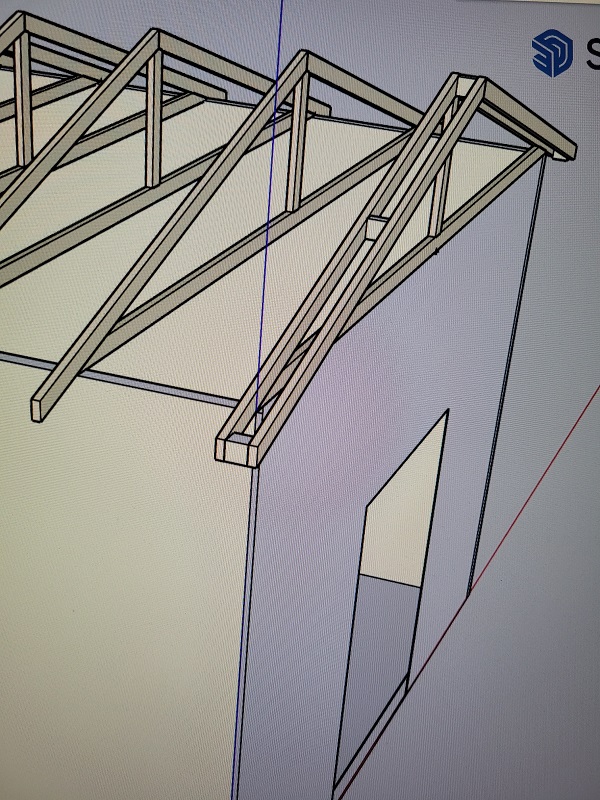
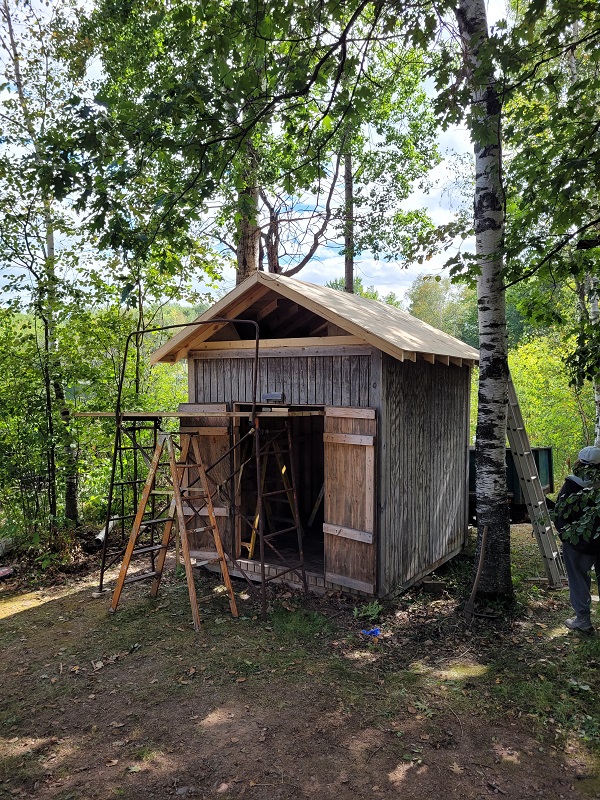
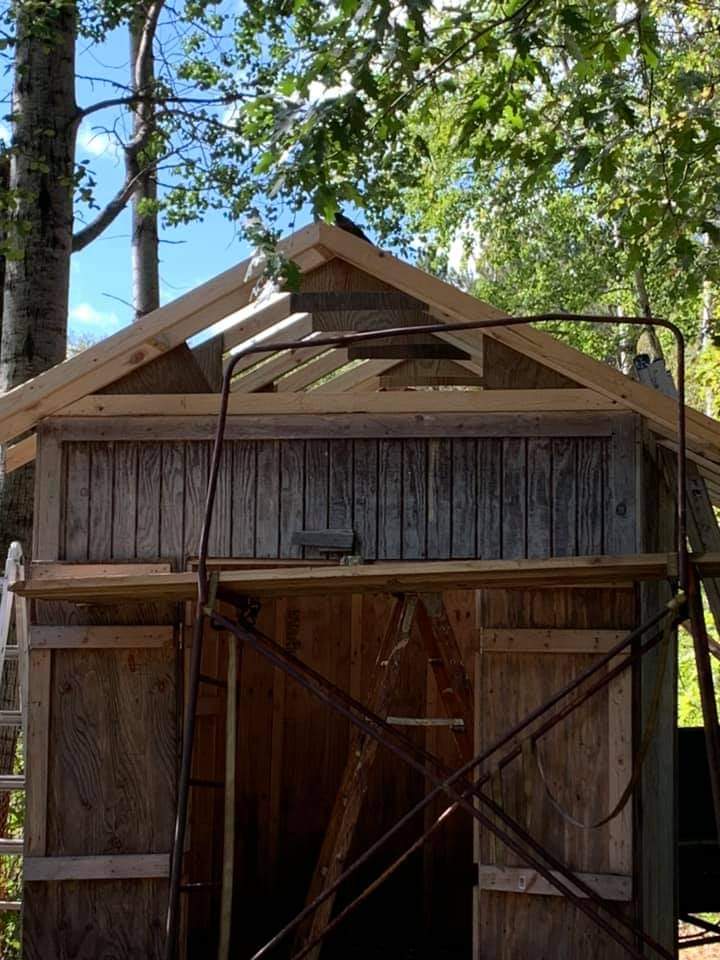
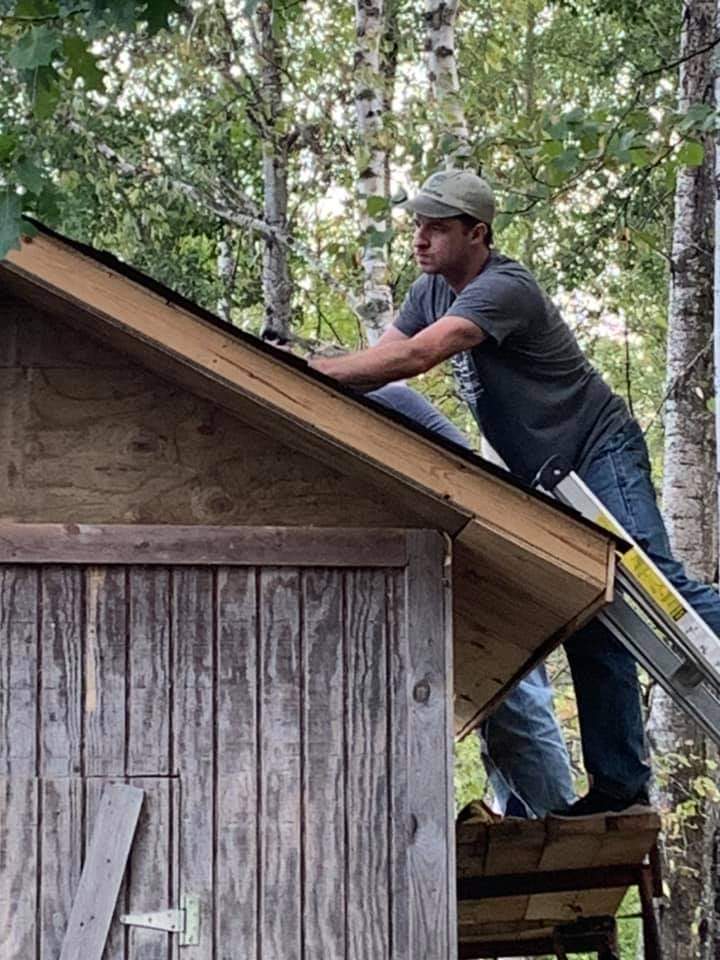
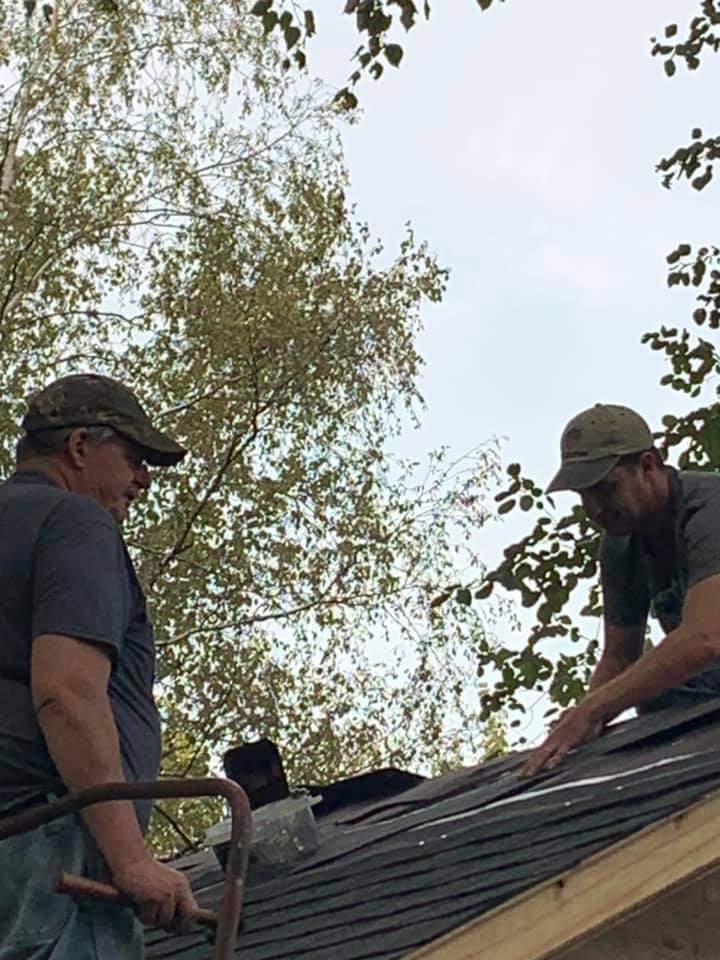
For the shed it was a flat roof and over time water did some major damage. We decided to do a peaked roof. I had never tried something like this so did some SketchUp drawings to try to prepare and we sort of used some techniques we found on YouTube for the brackets. I also got to learn how to do shingles as part of this. The shed took about 3 days to finish and no water leaks so far.

This shows how bad the roof was getting.

Sheet Rock

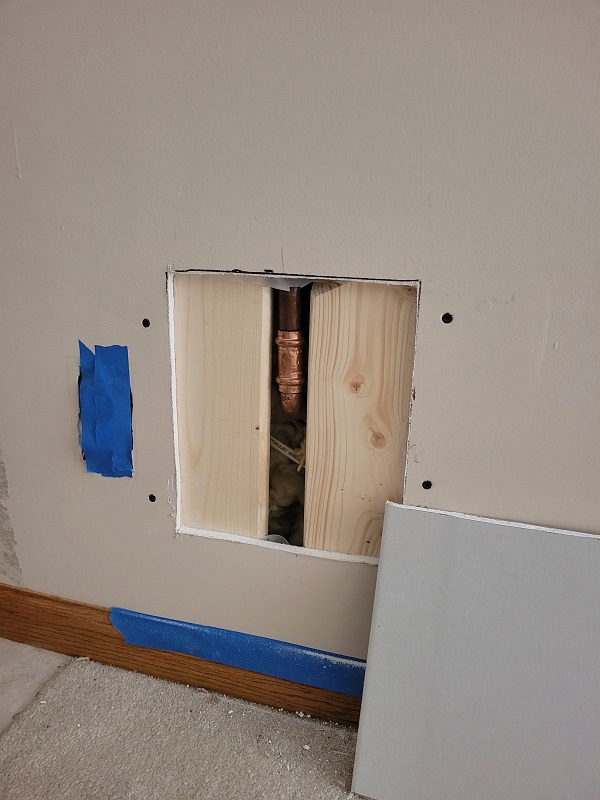
My sons and his friend turned the outdoor water faucet a bit too hard and we had to replace it. So I got to do a bit of sheet rock repair. The hole was a bit too big for a California patch so I put some wood support then screwed the sheet rock in and patched with mud. Didn’t use tape because it seemed I had enough support with the wood.

Electrical

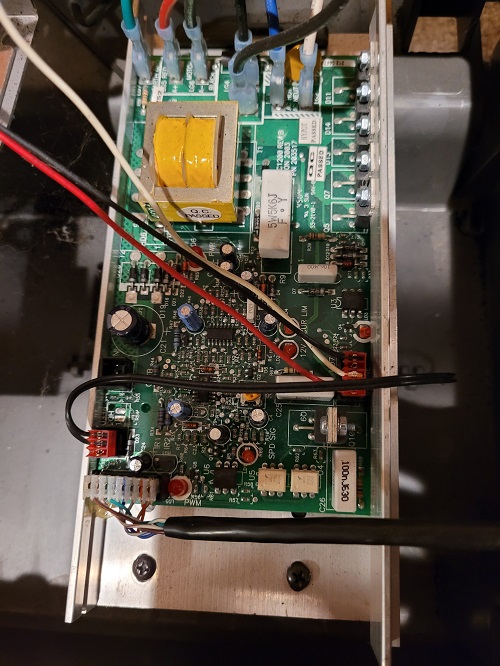
While taking apart our old treadmill I got interested in DC motors and controllers. My tread mill had a pretty nice controller the MC 1200. Played around to learn how to control the speed so that I could use it in the shop. Made a video on that since I learned so much and hope others can reuse that type of motor if they happen to have one. See video below.

Project Review 2020

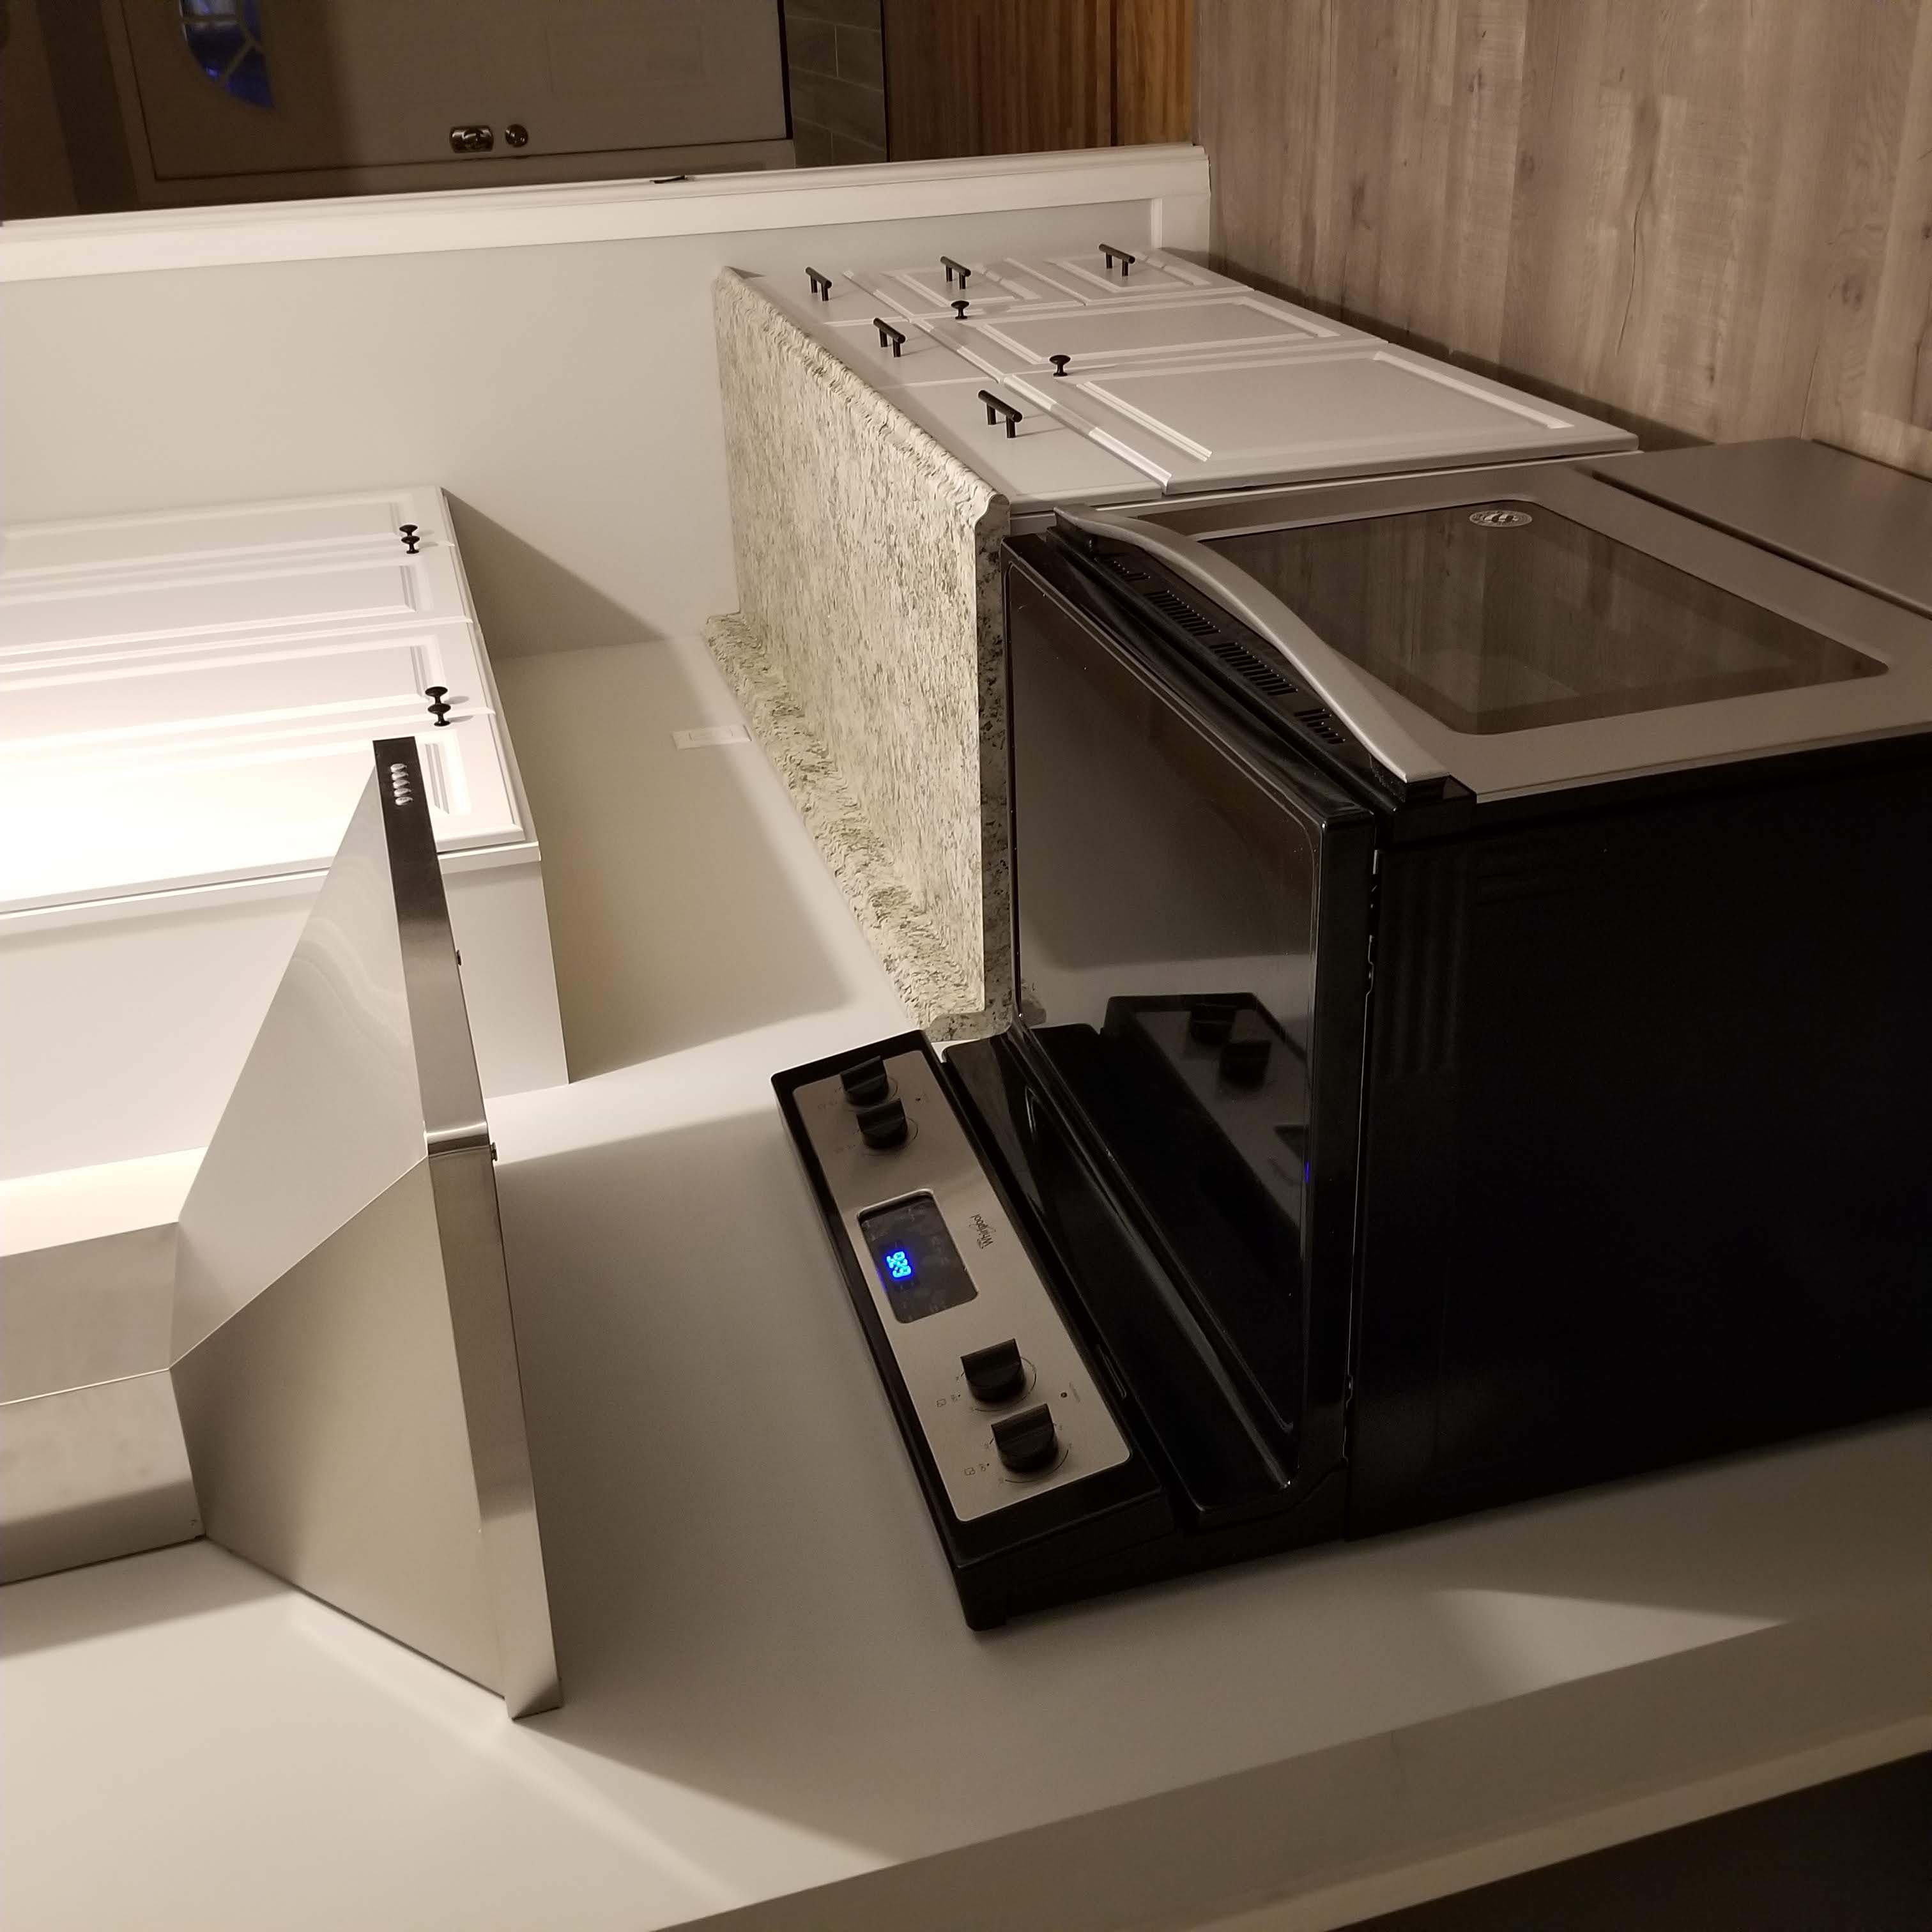
A review of some of the woodworking projects in 2020. I didn’t get to do so many fun projects due to a couple of kitchen remodels that were done. One remodel was for a rental and the other a update for a condo we sold. In addition, I helped build a deck with my parents. So with the big things and the pandemic going on the only small fun woodworking projects were a compost bin and some cutting boards.

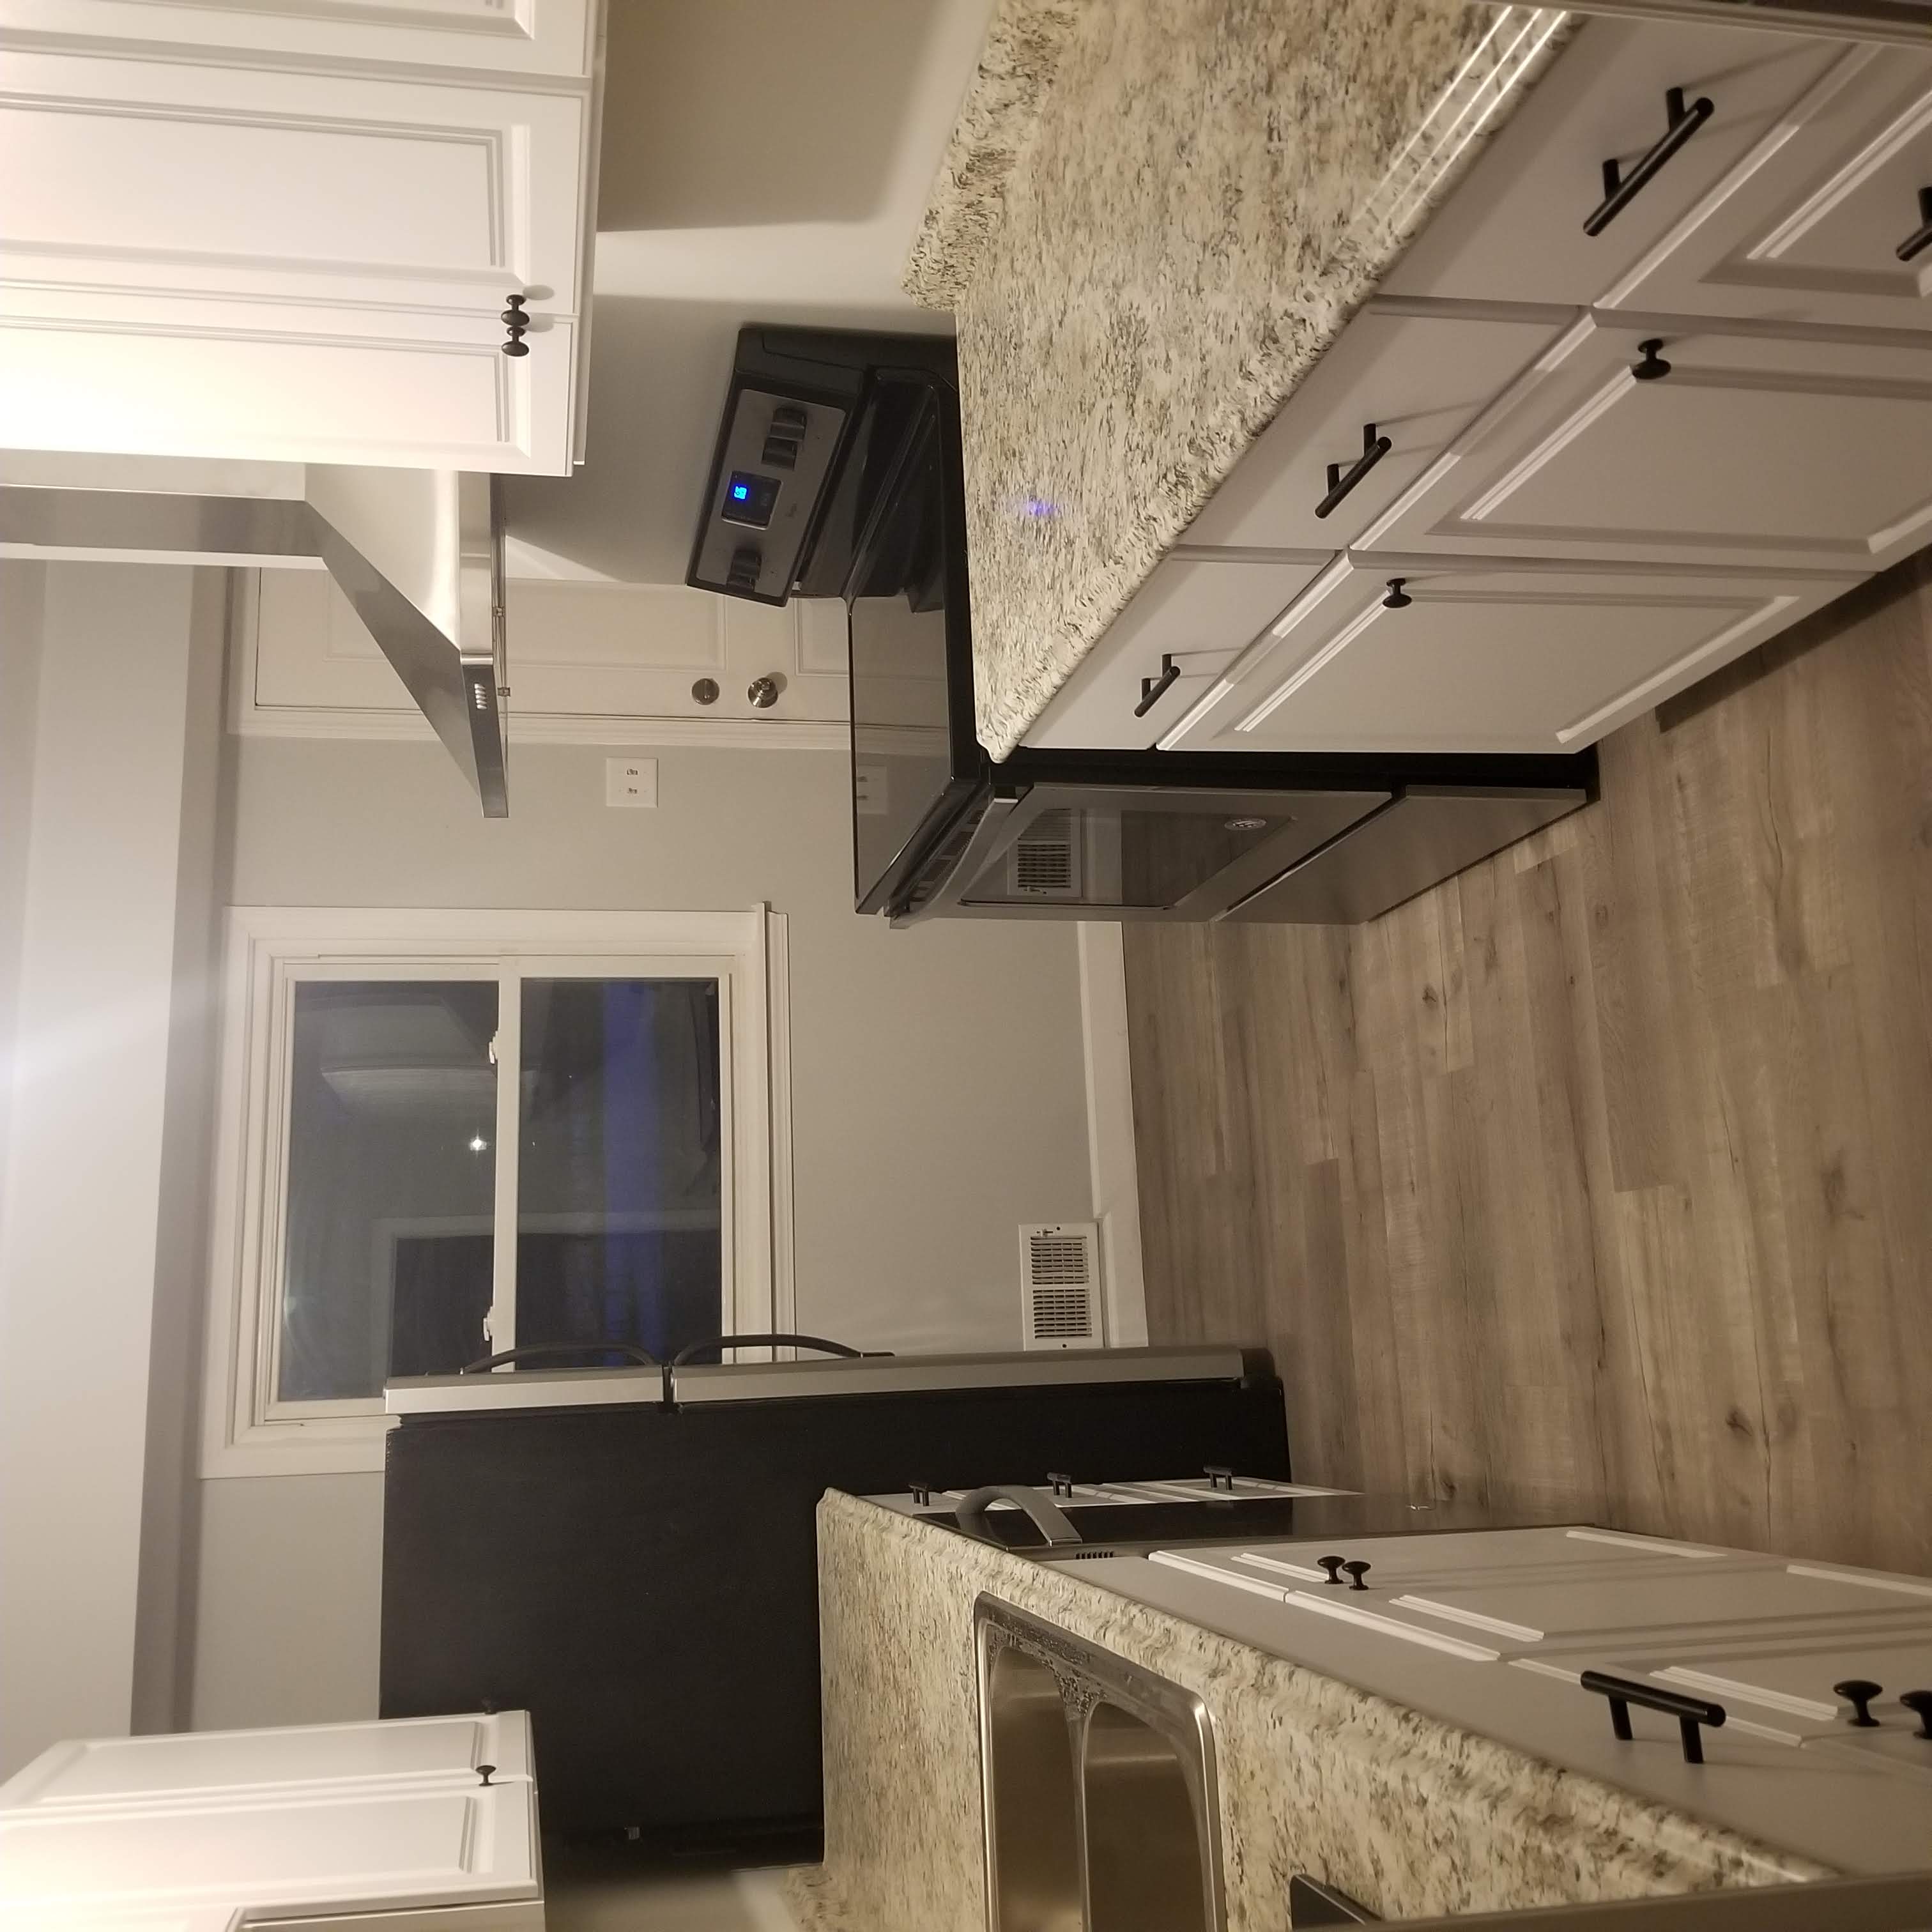
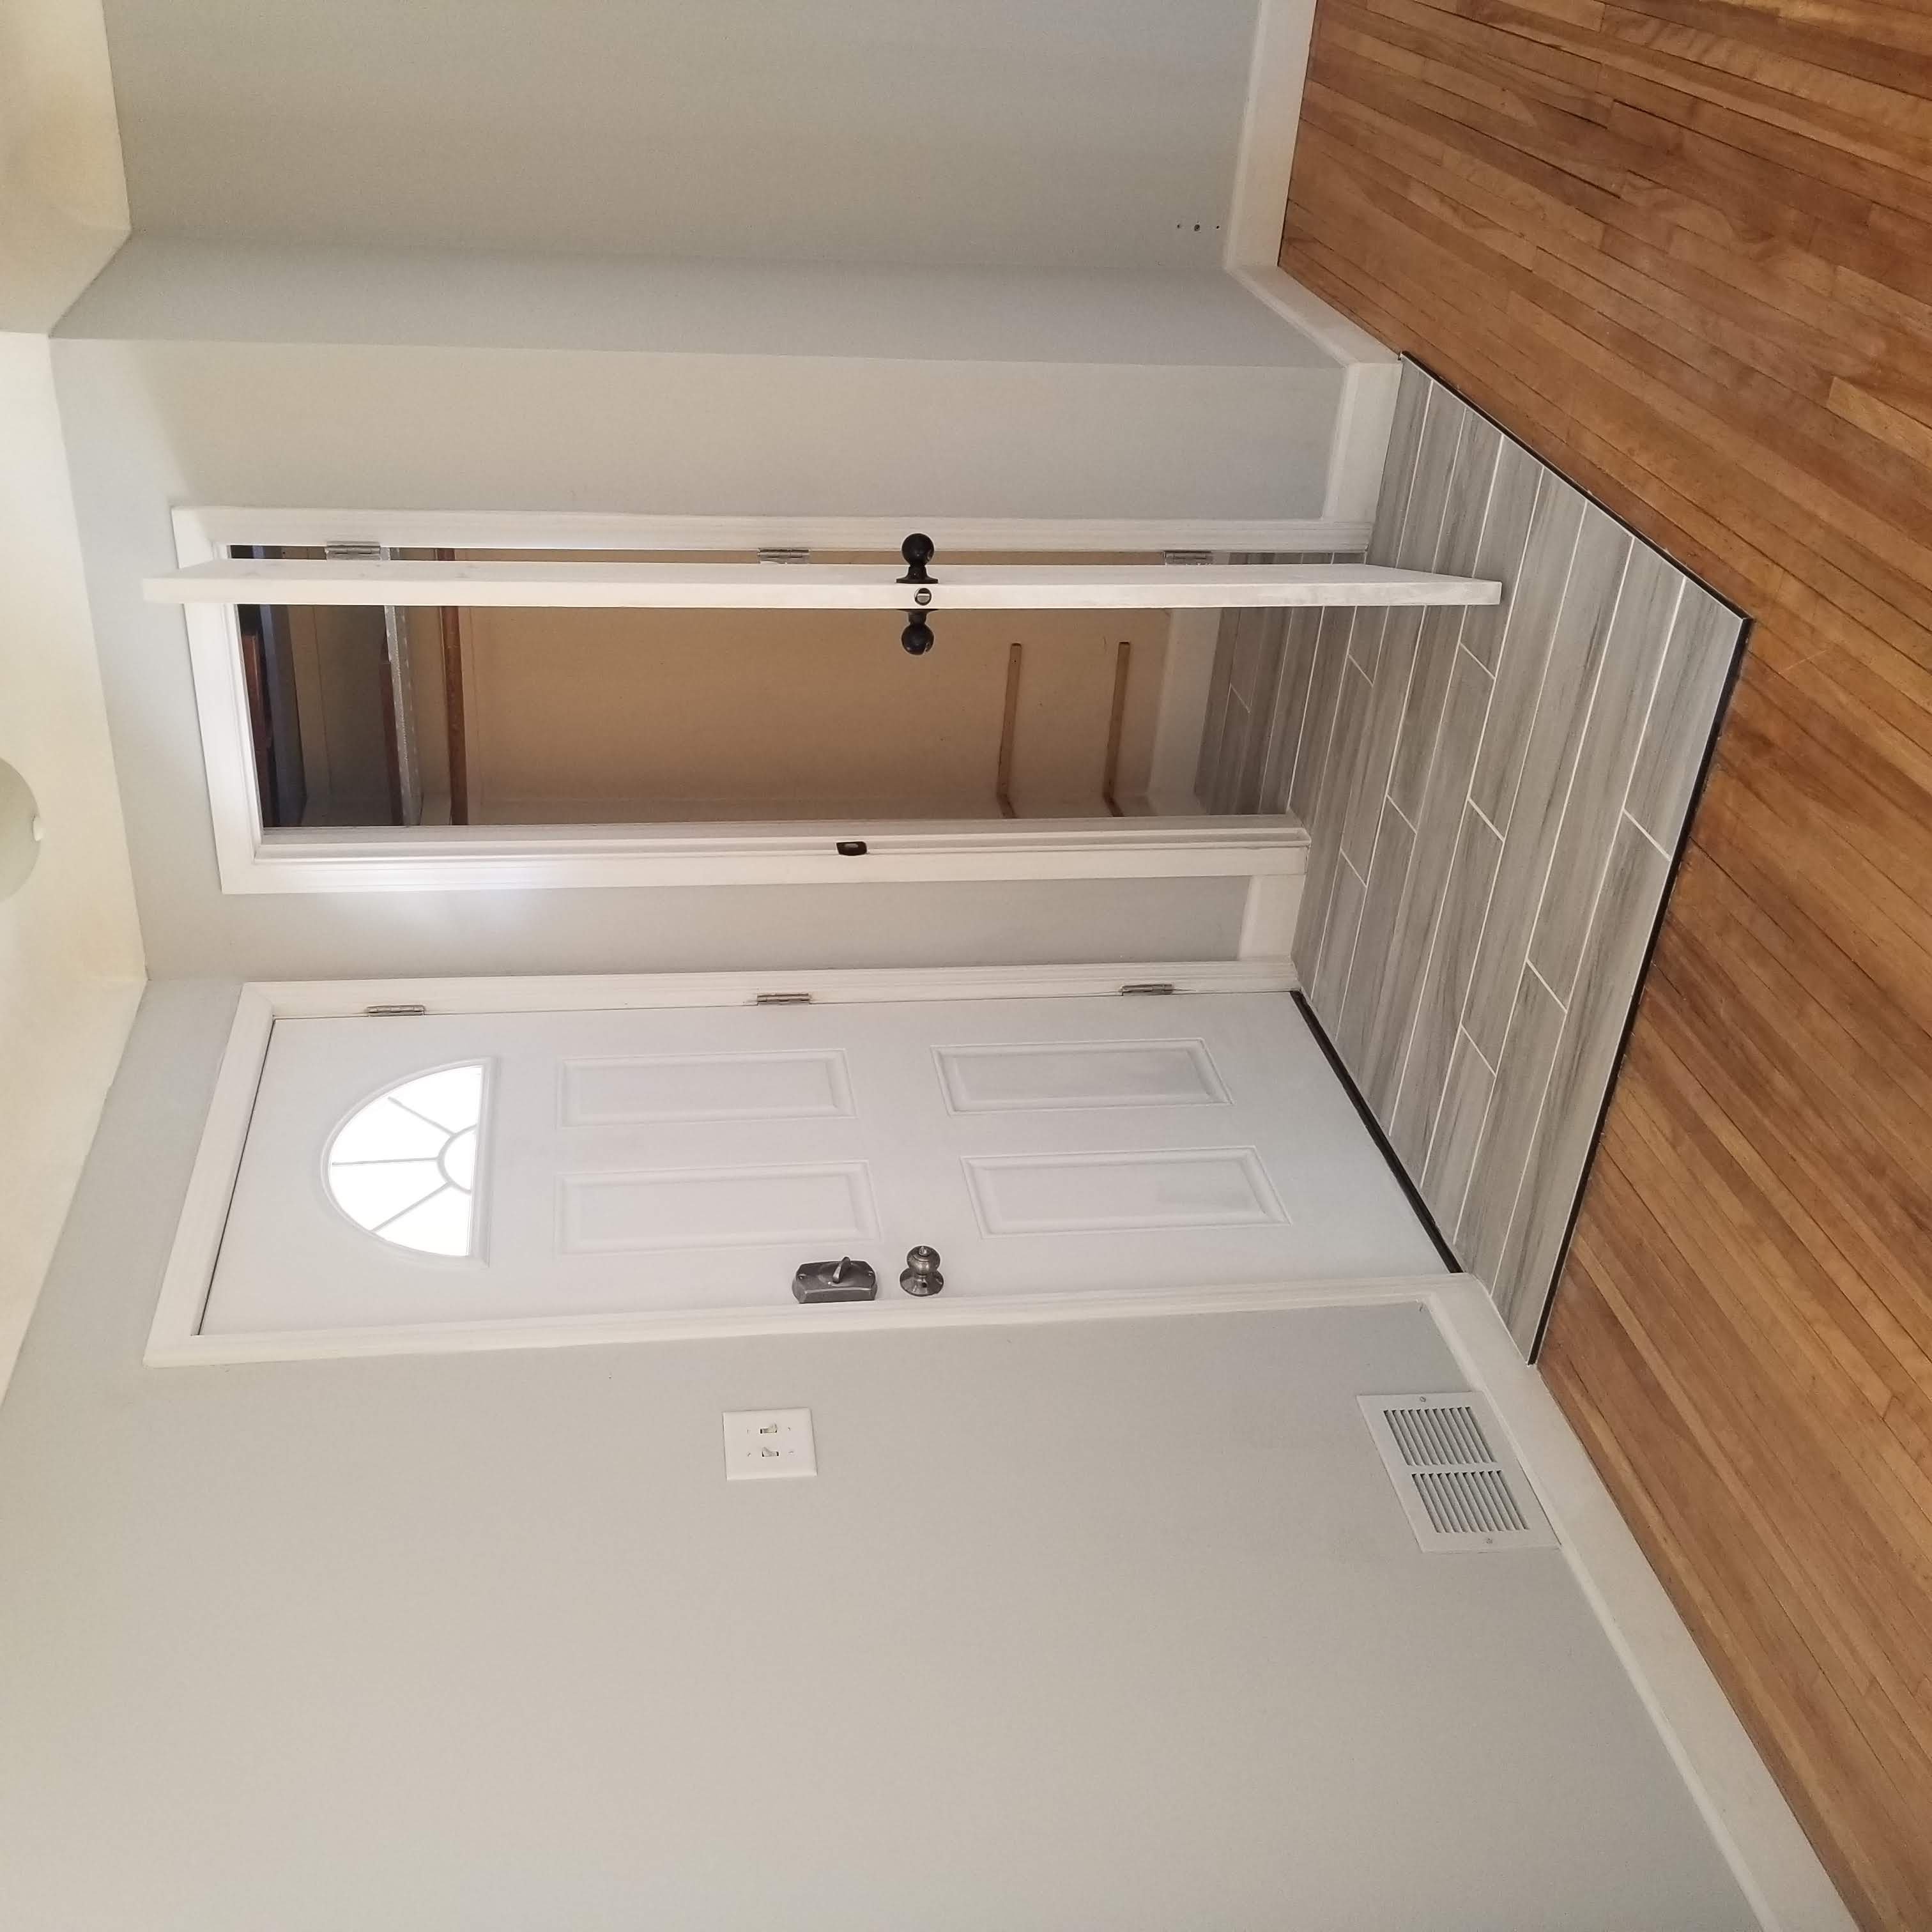
The year started by finishing up a rental house renovation. The previous renter had been in the place for over 10 years. It included all new trim and doors. Refinishing the hardwood flooring and the kitchen was redone from the studs. Lots and lots of sheet rock and mudding work. I also put in my first exterior door and got to do some tile work in the entry way. I used this tile work as an excuse to buy a new tile saw.

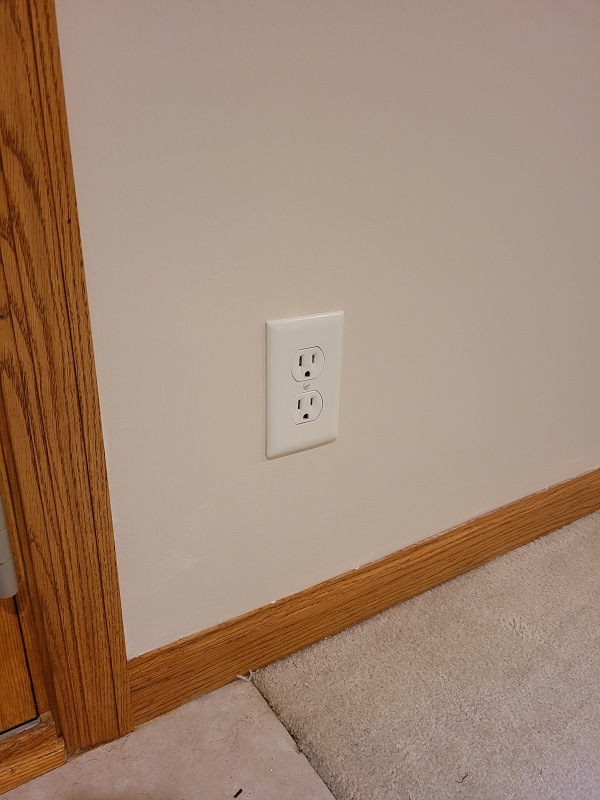
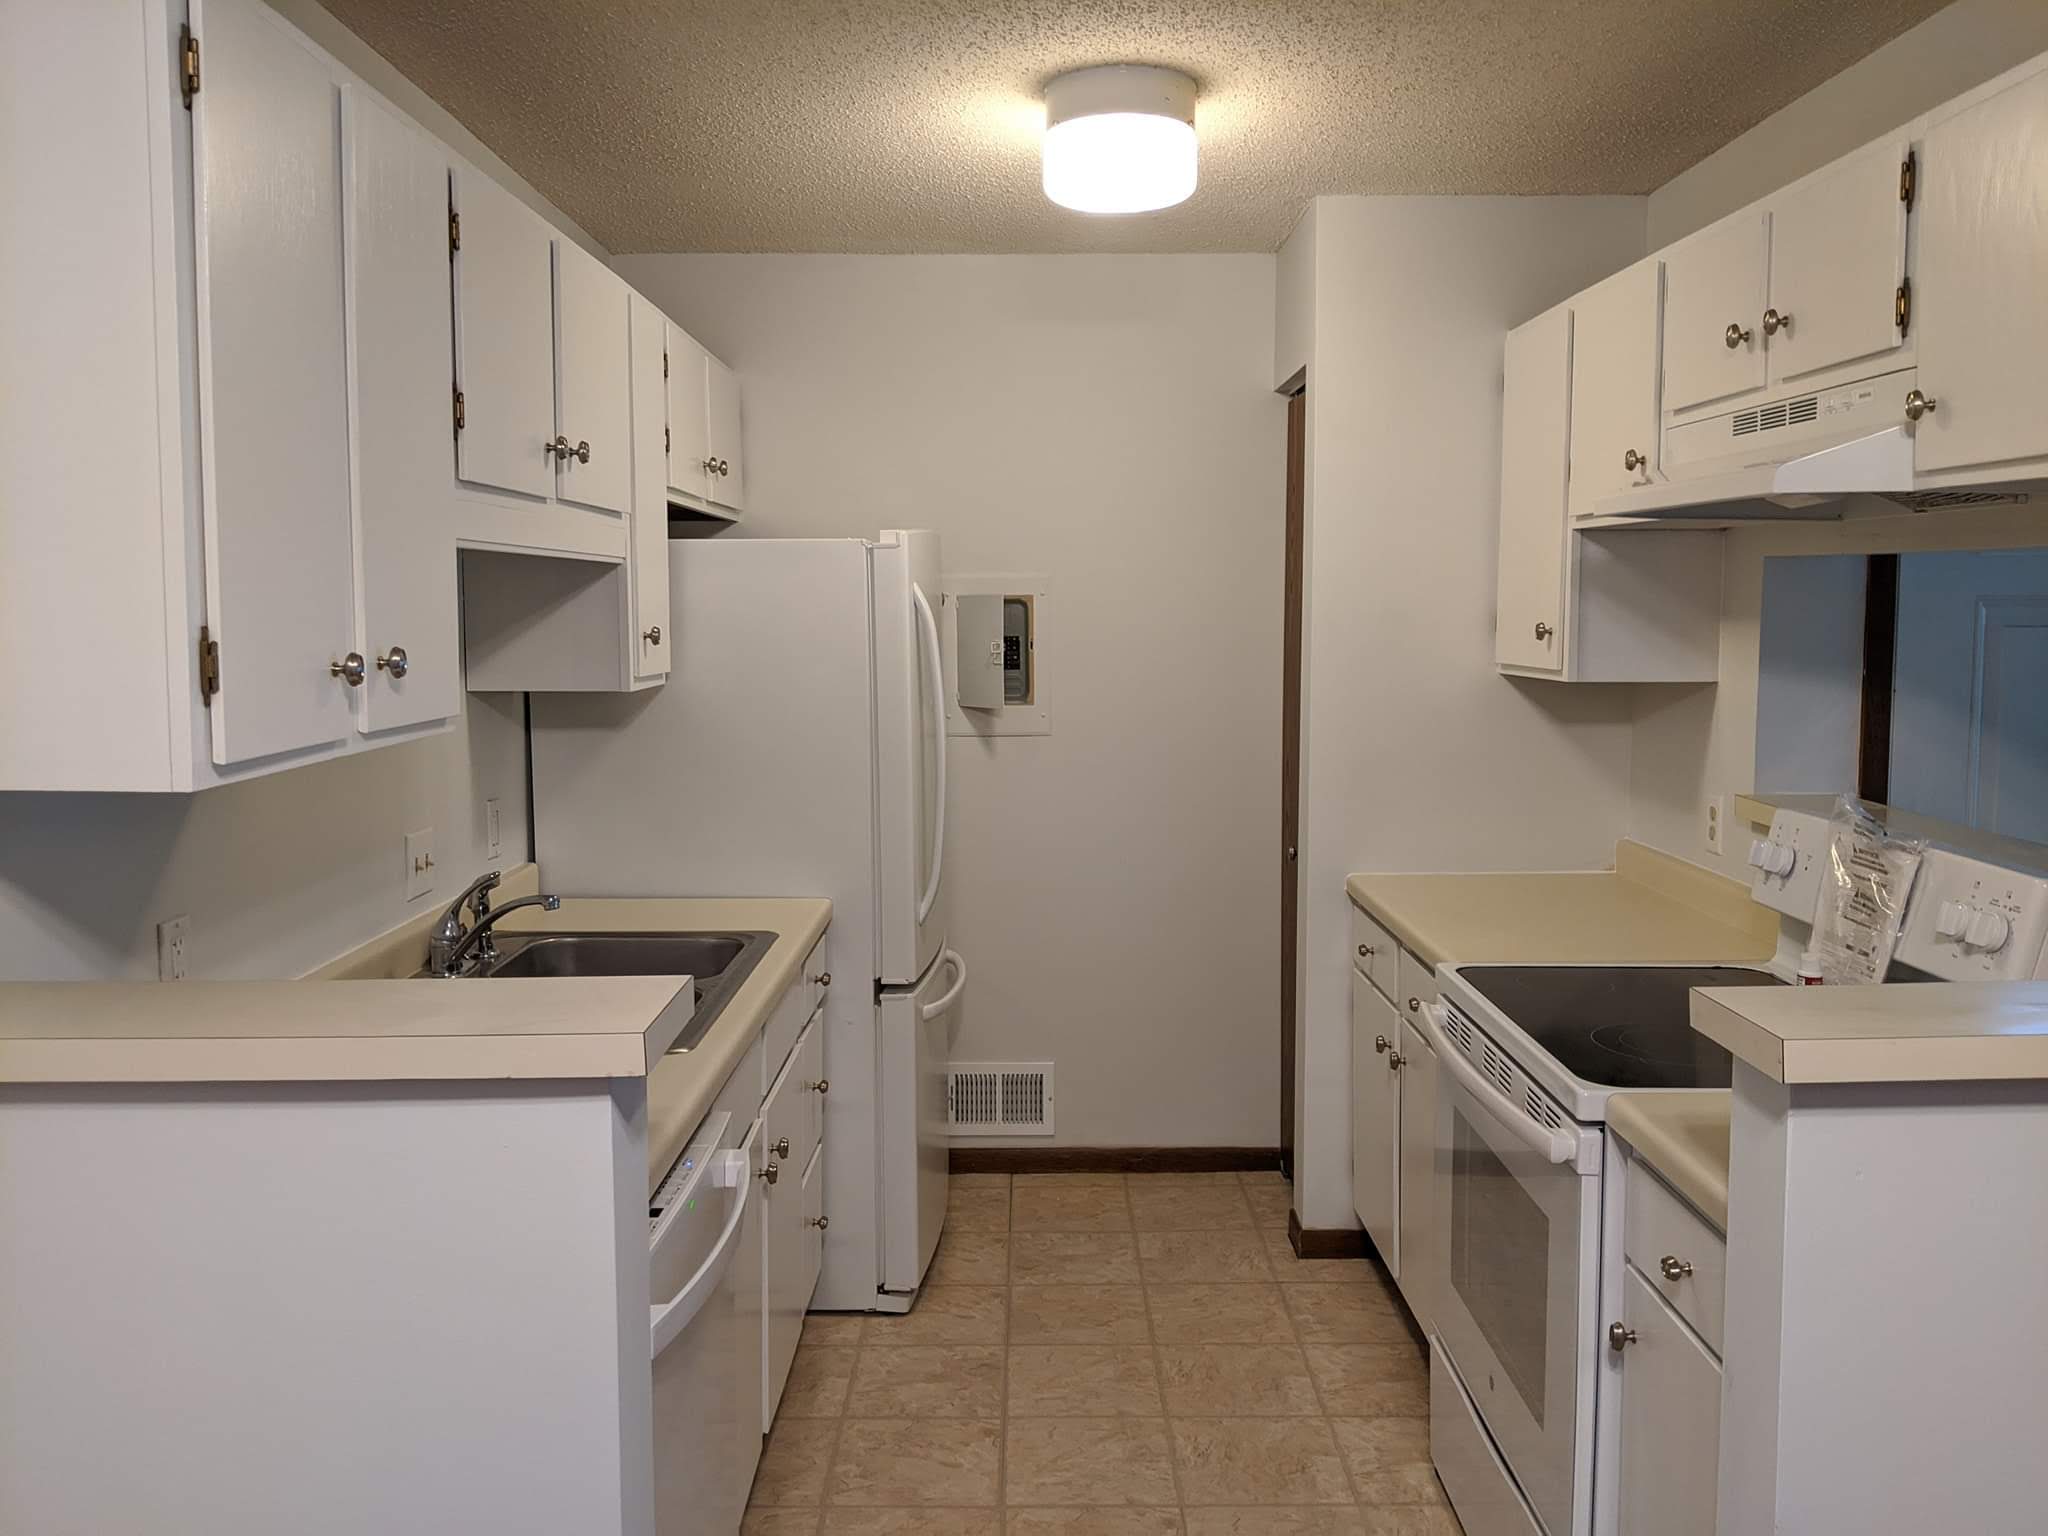
Then we decided to sell one of our rental properties because the association fees were getting too high. We decided to paint the old cabinets white. This was a labor intensive project. Lots of sanding and painting but the results were nice. Lots of other minor updates were done like replacing the appliances, light fixtures and new outlets. We also put a fresh coat of paint on all the walls. It sold the first weekend with many offers so we feel the work we put in paid off and it was fun.

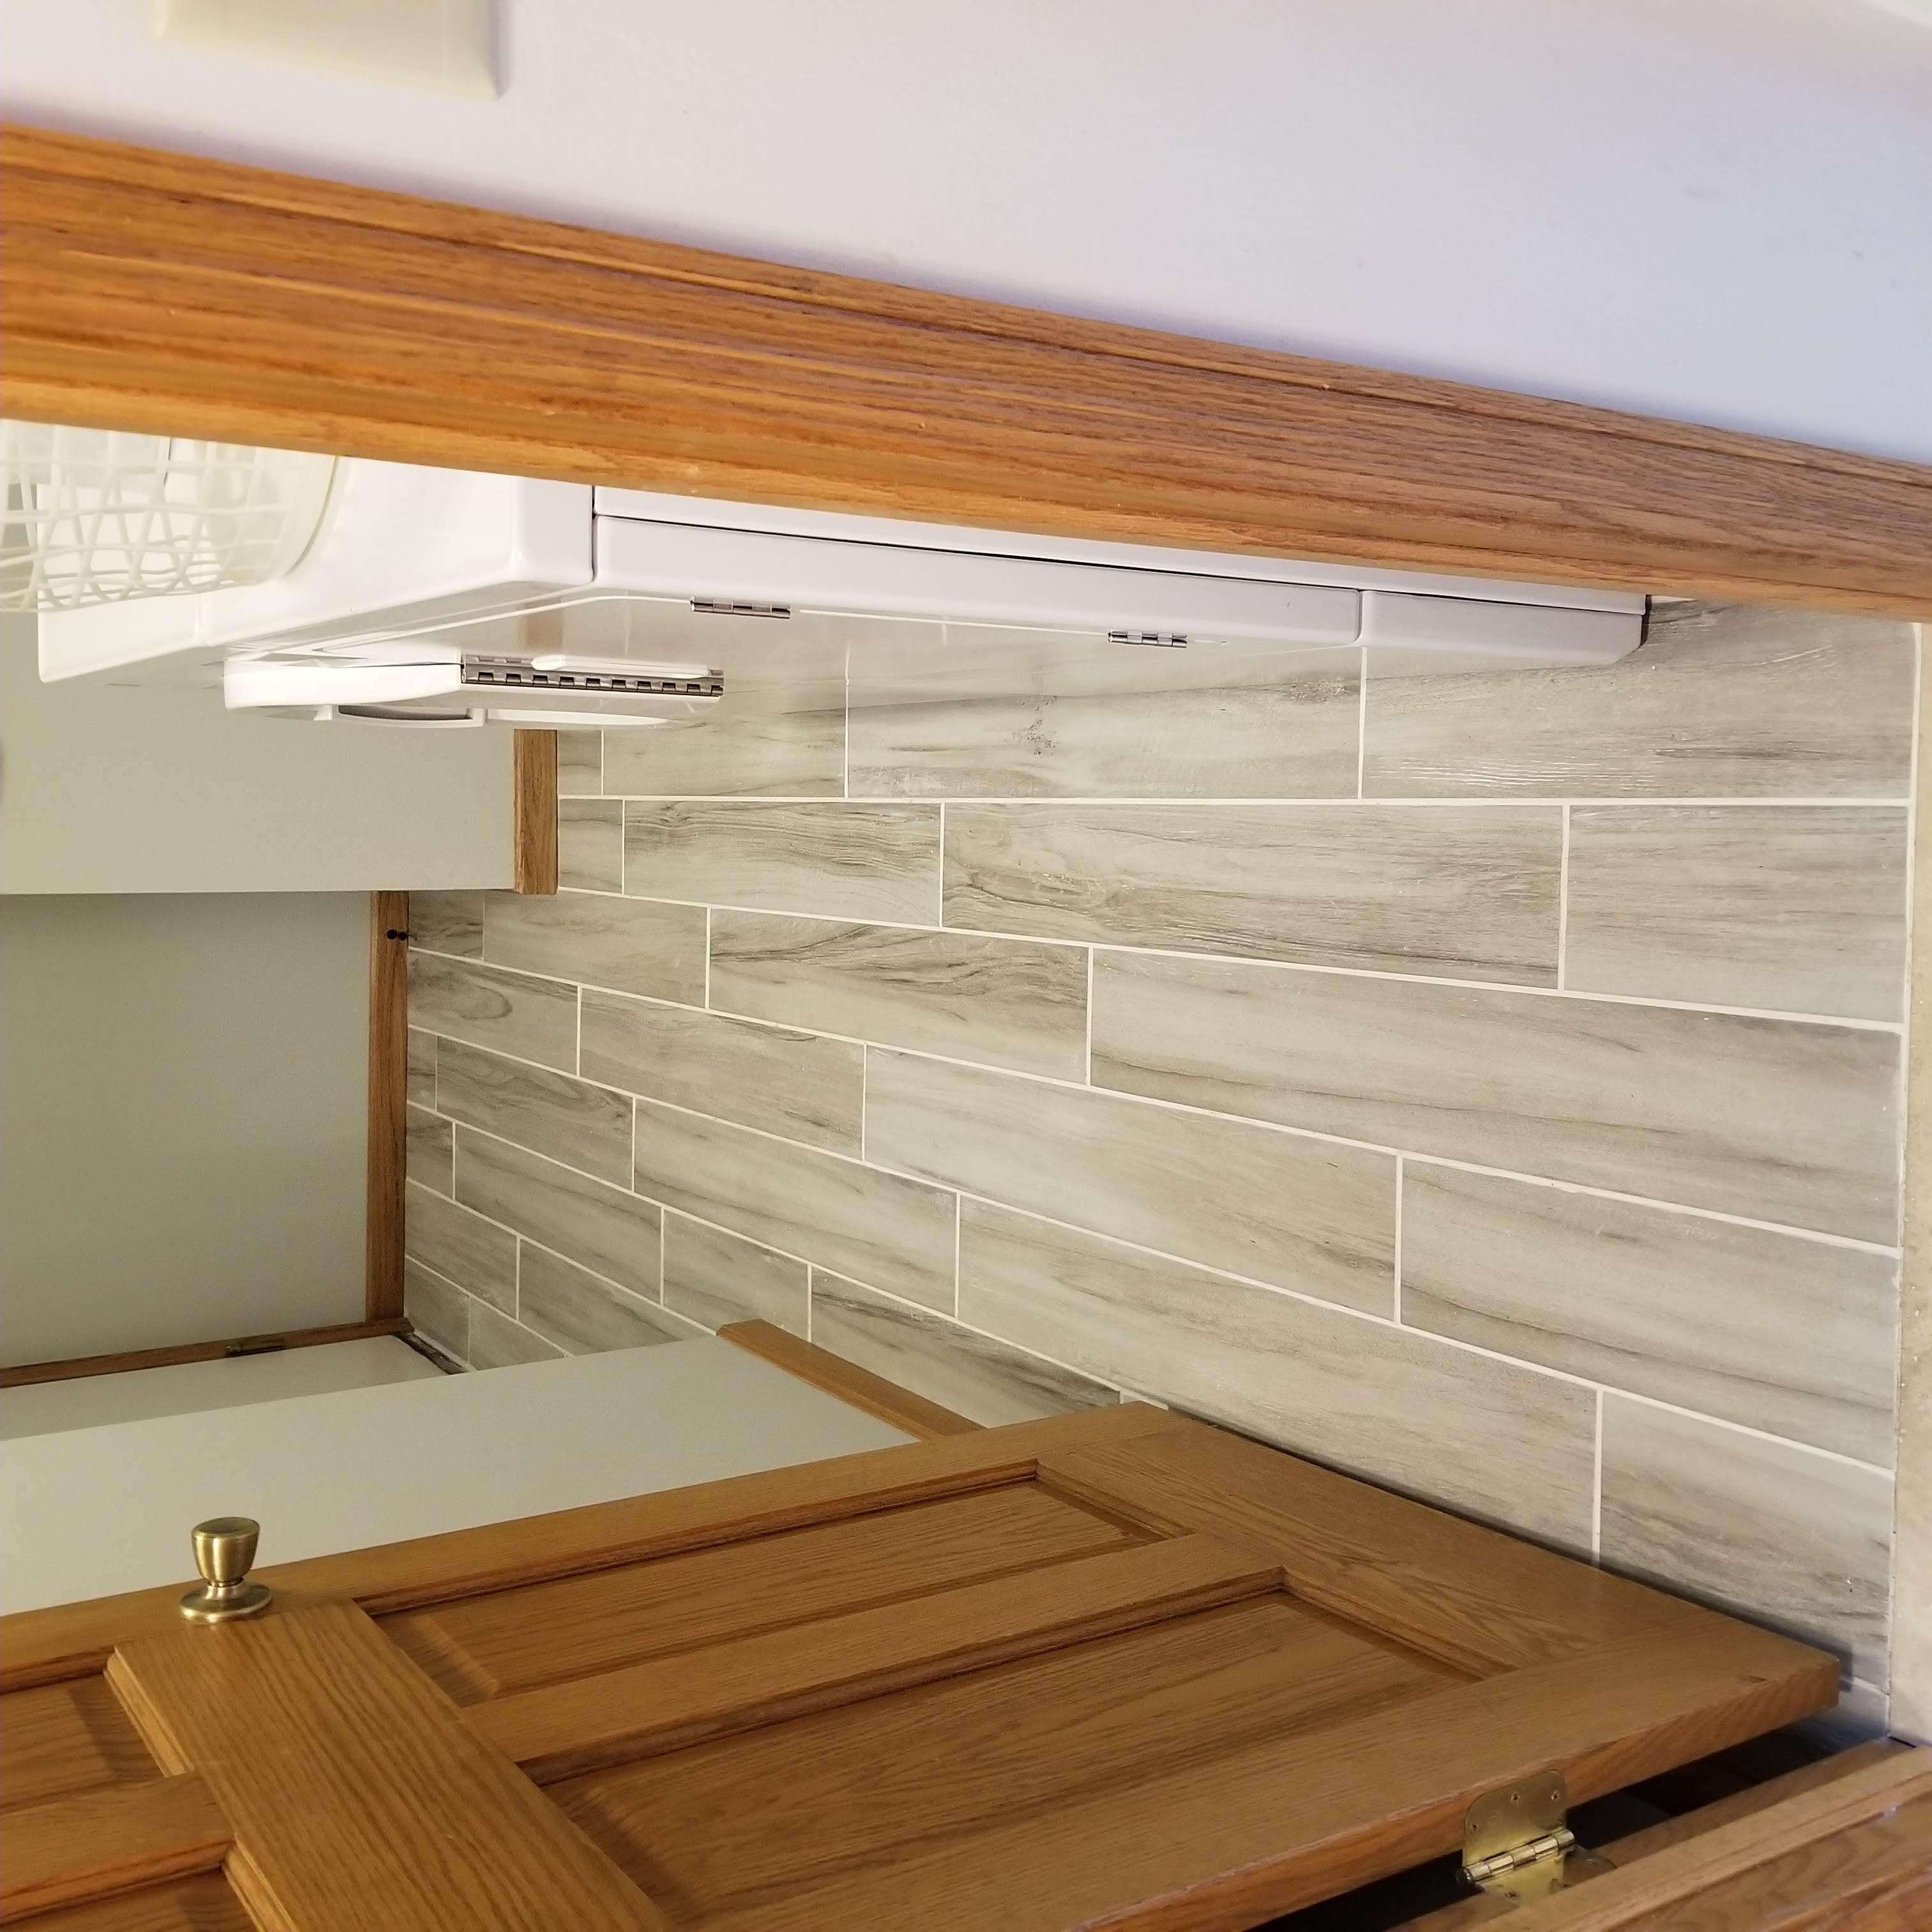
Since I had the new tile saw I decided to replace our laundry room floor. I really love tile work for some reason and I had a good time doing this project. Having the floor open also allowed me to run some new electrical and natural gas to the garage so I could hookup a new breaker box and garage heater. I also got to do a little more trim work with real wood instead of mdf so that was nice.

My parents deck was in need of repair so I helped build a new one based off my moms design. My parents finished the railings after I left. Here is a picture where it was almost done.

After all that and the pandemic going on I decide to do some updates in the garage. I built some new shelfs for my tools and got the garage heater installed.

Then to use up some scrap wood I made a compost bin and some cutting boards to keep me busy.

Planter

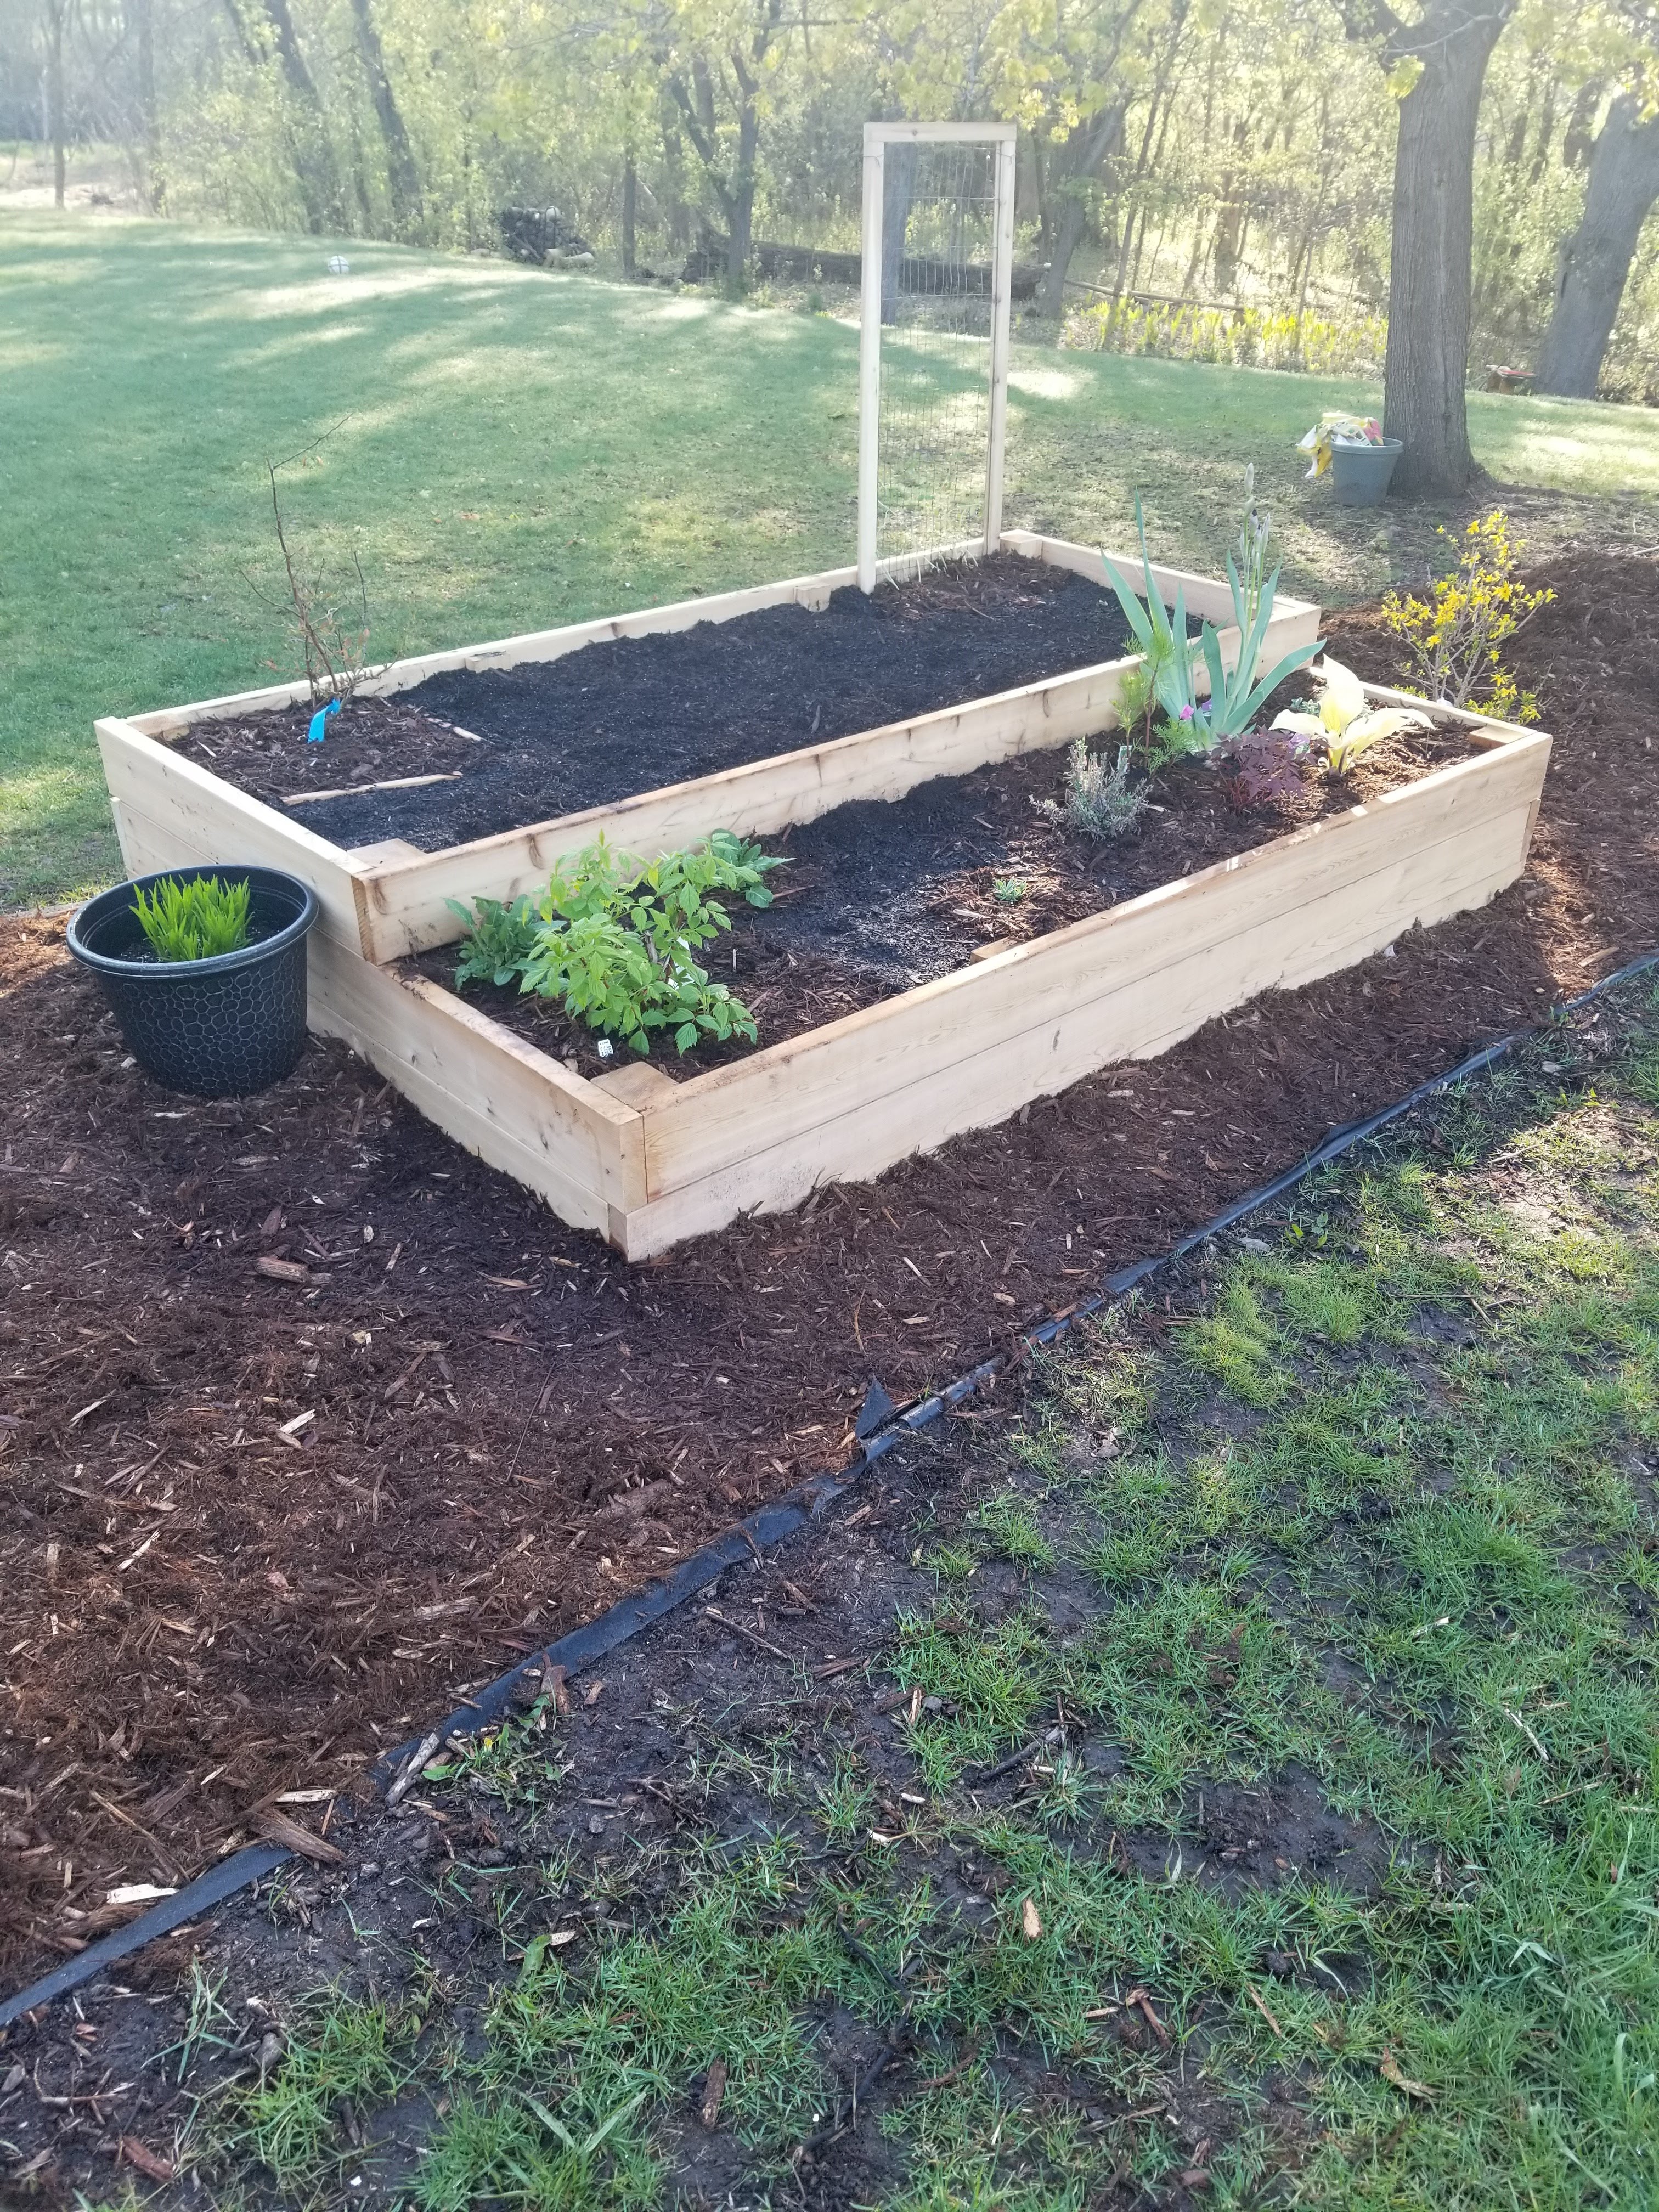
A cedar planter made using 2x6 boards. It is roughly 8’ by 5’ with two levels. This was a quick build but it is on a hill so that gave me a bit of a challenge and more prep work. To figure out the plans I had to stake out the area and figure out how to make the box level. Then I used Sketchup to determine the amount of wood I would need.

sketchup plans

Experimental Box Top

I saw this stepped-lid in a wood working magazine and thought it would be easy and fun. Turns out it is much harder then it looks to get all the miters crisp and the lid edges to look consistent.

Box was made of Cherry and Maple. Bottom of the box is Poplar. Overall it was fun but very frustrating and make mes realize I need to work a bit more on my miters and accuracy in general. For these small parts I added a clamp to my smaller sled which made cutting less stressful.

Here are the plans I worked from. The only change I made was to make it a bit taller and added splines.

Wood Tissue Box Cover

Built a wood tissue box cover inspired by David Picciuto. I used Cherry for the sides and Walnut for the top. I started with a 3/4” cherry board and resawed it down to 1/4” boards for the sides. Then cut to length and mitered on the table saw. Bottom of the box is 1/8” plywood and held in with a dado.

For the finish I mixed some brown dye, shellac, and denatured alcohol for the first coat. The stain was a bit blotchy and sanded it down and did two coats of spray lacquer. Then for final sand used wax and steal wool. I really need to have a process for finishing instead of just trying random things each time. :)

Simple Woodworking Project Chess Board

For a Christmas gift I used a couple of contrasting chunks of wood to make a 12” x 12” chess board.

Below is a video and some pictures on how I built it. If you want a regulation one the squares would need to be 2” but I wanted to keep mine small.

I started out with a couple pieces of wood. One oak and one walnut. Then I cleaned up the edges and made sure they were square using the table saw.

Wood

Next I ripped the wood into 1.5” strips. Then I glued them up all the wood using the dark and light every other piece.

Pattern

After that I cross cut 1.5” strips.

Pattern

Then glue those strips together but flip every other row over. You want a 8 x 8 board.

8 x 8

After sanding and making sure it is square I added a maple boarder.

boarder

boarder

Then I finished with one coat of dewaxed shellac cut 1 to 1 with denatured alcohol. Then after that dried a bunch if thin coats of polyurethane sanding between each coat.

chess board